

How to install Atom editor in Ubuntu
Atom is an editor for the 21st century. Created by Github with love, Atom is modular, advanced, hackable editor for programmers. We all know Editor play’s very important to keep developer like you productive.
Atom is an open-source cross-platform code editor developed by GitHub. It has a built-in package manager, embedded Git control, smart autocompletion, syntax highlighting and multiple panes.
Under the hood Atom is a desktop application built on Electron using HTML, JavaScript, CSS, and Node.js.
Installing Atom on Ubuntu
Perform the following steps to install Atom on your Ubuntu system:
Start by updating the packages list and install the dependencies by typing:
sudo apt update
sudo apt install software-properties-common apt-transport-https wget
Next, import the Atom Editor GPG key using the following wget command:
wget -q https://packagecloud.io/AtomEditor/atom/gpgkey -O- | sudo apt-key add -
And enable the Atom APT repository by typing:
sudo add-apt-repository "deb [arch=amd64] https://packagecloud.io/AtomEditor/atom/any/ any main"
Once the repository is enabled, install the latest version of Atom with:
sudo apt install atom
Starting Atom
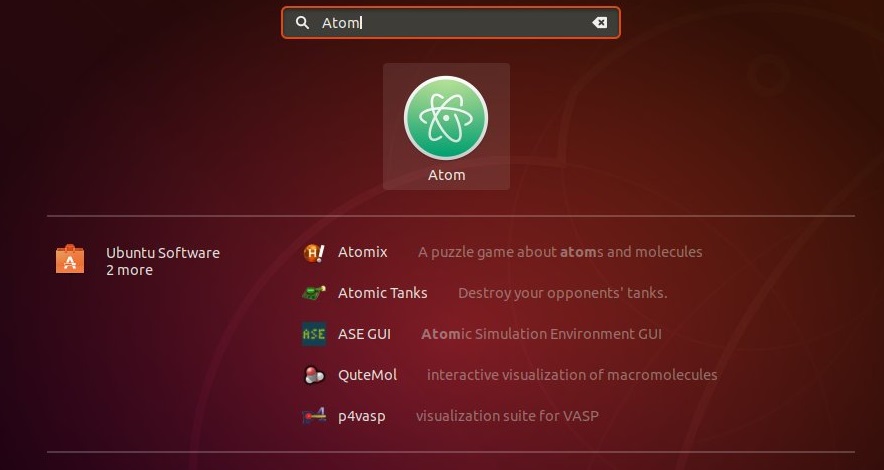
Now that Atom is installed on your Ubuntu system you can launch it either from the command line by typing code or by clicking on the Atom icon (Activities -> Atom).
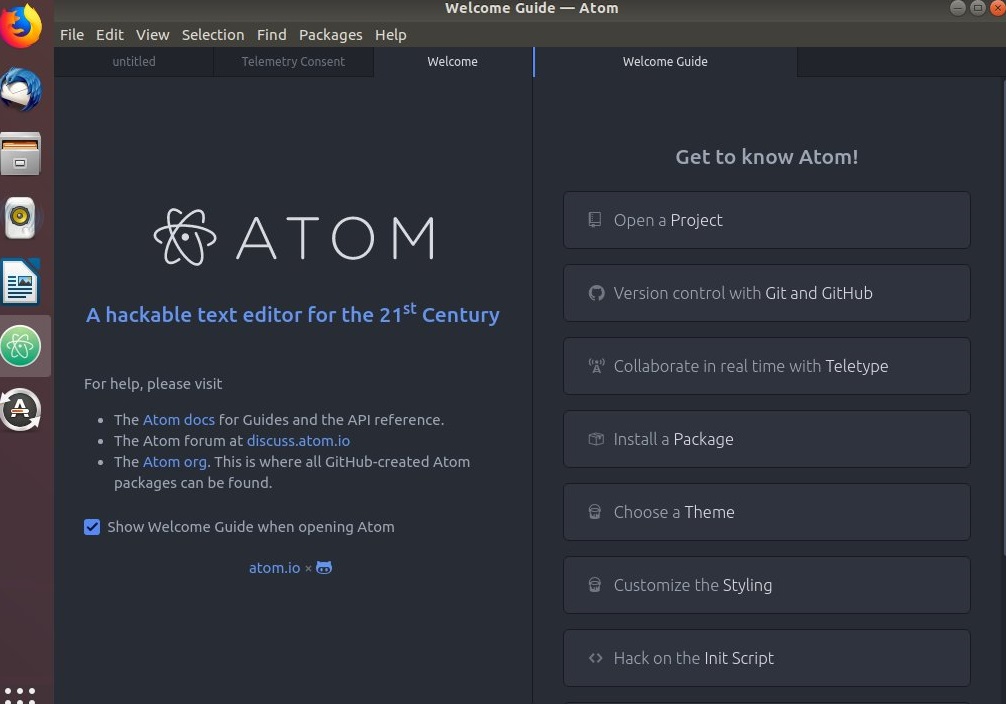
When you start the Atom editor for the first time, a window like the following should appear:
You can now start installing themes and extensions and configuring Atom according to your preferences.
Upgrading Atom
To upgrade your Atom installation when new releases are published, you can use the apt package manager normal upgrade procedure:
sudo apt update
sudo apt upgrade
Conclusion
You have successfully installed Atom on your Ubuntu 18.04 machine.


