

SVN for Eclipse
Eclipse is an open-source and unfastened, java-based improvement platform. It is widely known for its fantastic plug-ins that allow developers to broaden and take a look at code written in specific programming languages.
Eclipse IDE guide built-in integration for Subversion. It affords support thru a third-birthday celebration plug-in referred to as Subclipse. It is advanced and managed by Subversion center committers. Subclipse usually offers synchronization with the latest Subversion features and releases.
It incorporates the CollabNet Merge Client, that is at the beginning advanced as a part of the CollabNet Desktop - Eclipse Edition. The CollabNet Merge Client allows effective graphical merge competencies that manage the merge tracking capability.
To use the SVN with Eclipse, we need to have the subsequent gear:
- SVN Server
- SVN Client
- JDK 1.8
- Eclipse IDE
SVN integration with Eclipse
Whenever we've got all of the important tools to go together with SVN, follow the under steps for using SVN with Eclipse:
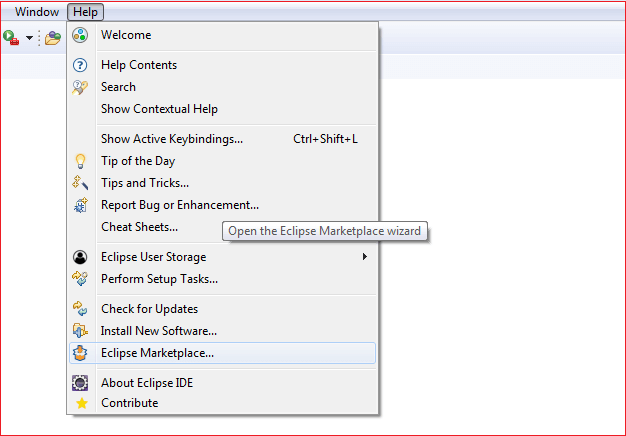
Open the Eclipse and navigate to Help->Eclipse Marketplace.
Open Eclipse Marketplace and search for the Subclipse. Consider the below photograph.
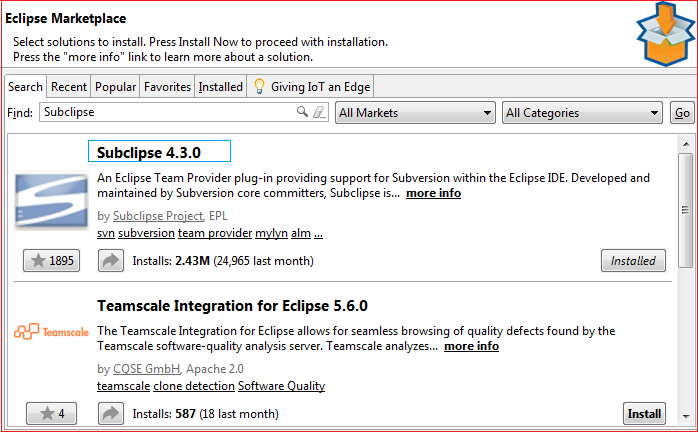
Select Subclipse four.Three.0 and click on install. Follow a few critical steps and deploy the Subclipse integration device for the Subversion. Restart the Eclipse to discover the SVN repository in Eclipse.
We have efficaciously integrated the SVN tool with Eclipse. Now, we will discover the SVN capability in Eclipse.
Test SVN Repository in Eclipse
After the a success integration of the SVN device in Eclipse, it's far important to validate the integration and explore the SVN repository.
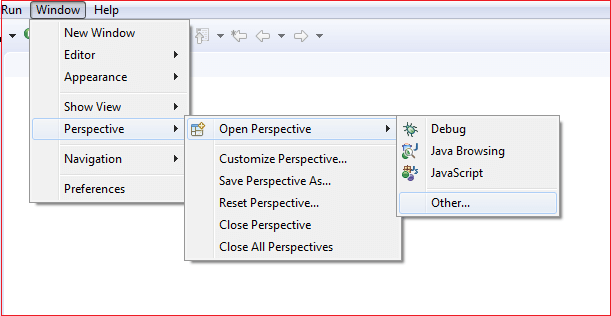
To verify the installation, open the Eclipse and navigate to Window-> Open Perspective-> Other. Consider the underneath image:
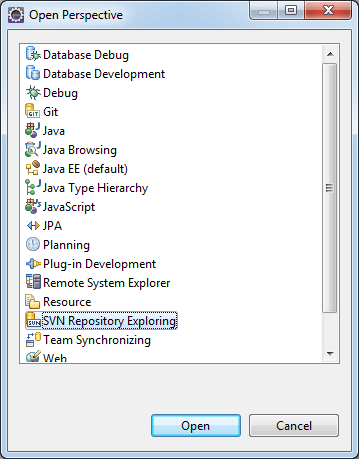
Click on the other option, scroll the menu, and Select SVN Repository Exploring.
Now, we will explore the SVN repository. Here we are able to create, checkout, and explore the present repository in Eclipse.


